How to Remove Old Wallpaper Without Damaging Your Walls
Removing old wallpaper can be a daunting task, especially if you want to do it without damaging your walls. Whether you’re tackling a small room or an entire house, this comprehensive guide will walk you through the process step-by-step, ensuring that you end up with smooth, ready-to-paint walls.
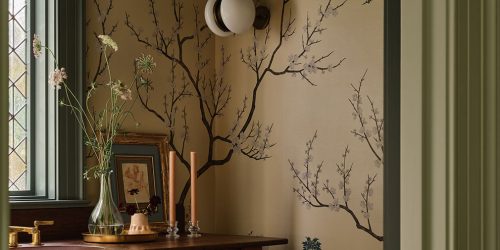
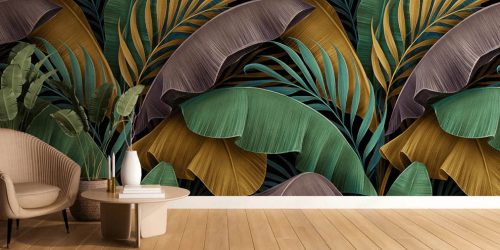
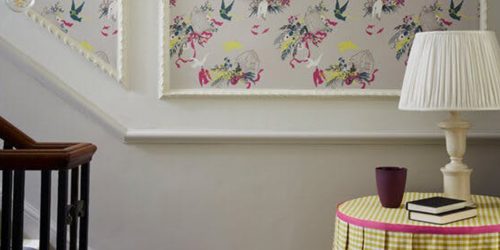
Wallpaper can transform a room, adding personality and style. However, trends change, and there comes a time when the old wallpaper needs to go. If you’re facing this challenge, you may be worried about damaging your walls in the process.
Preparation: Tools and Materials
Before you begin, gather all the necessary tools and materials. Having everything on hand will make the process more efficient and less stressful. Here’s a list of what you’ll need:
Tools
- Wallpaper Scorer: This tool perforates the wallpaper, allowing the remover solution to penetrate better.
- Putty Knife or Scraper: A wide, flexible blade for scraping off wallpaper without damaging the wall.
- Spray Bottle or Garden Sprayer: For applying water or wallpaper removal solution.
- Sponges and Rags: For wiping down walls and cleaning up residue.
- Drop Cloths or Plastic Sheeting: To protect your floors and furniture.
- Bucket: For mixing solutions and holding water.
- Ladder: If you need to reach high areas.
- Safety Gear: Gloves, goggles, and a mask to protect yourself from dust and chemicals.
Materials
- Wallpaper Removal Solution: Commercial solutions are available, or you can make your own with household ingredients.
- Water: Plain water is often effective, especially with a wallpaper steamer.
- Dish Soap or Fabric Softener: Can be mixed with water to help dissolve adhesive.
- White Vinegar: Another option for a DIY removal solution.
- Painter’s Tape: To protect trim and baseboards.
- Patch Compound: For repairing any small wall damages that may occur.
Step-by-Step Wallpaper Removal
Step 1: Prepare the Room
Start by preparing the room to protect your floors, furniture, and electrical outlets.
- Remove Furniture and Cover Floors: Move furniture out of the room or to the center and cover with plastic sheeting. Protect your floors with drop cloths.
- Turn Off Power: For safety, turn off the power to the room. Remove outlet covers and switch plates, and cover the outlets with painter’s tape.
- Ventilation: Open windows and doors to ensure good ventilation, especially if you’re using chemical removers.
Step 2: Test the Wallpaper
Not all wallpapers are the same. Some are strippable, meaning they can be removed dry without the need for water or chemicals. To determine the type of wallpaper you have, perform a test:
- Locate a Seam: Find a seam or corner where the wallpaper meets the ceiling or trim.
- Peel Back: Use your putty knife to gently lift the edge. If it peels away easily and comes off in large sheets, it’s strippable. If it tears or leaves a backing behind, you’ll need to use additional methods.
Step 3: Score the Wallpaper
If the wallpaper is not strippable, you’ll need to score it to allow the removal solution to penetrate. Scoring is especially important for vinyl or water-resistant wallpapers.
- Use a Wallpaper Scorer: Lightly roll the scorer over the wallpaper in a circular motion. Be careful not to press too hard to avoid damaging the drywall underneath.
- Cover Entire Surface: Ensure the entire wall is covered with small perforations.
Step 4: Apply the Removal Solution
There are several options for removal solutions. You can use a commercial wallpaper remover, or make a DIY solution with water and other household ingredients.
- Commercial Wallpaper Remover: Follow the manufacturer’s instructions for mixing and applying the solution.
- DIY Solutions: Here are a few options:
- Water and Vinegar: Mix equal parts water and white vinegar.
- Water and Dish Soap: Mix a few tablespoons of dish soap with warm water.
- Water and Fabric Softener: Mix one part fabric softener with three parts warm water.
Step 5: Soak the Wallpaper
Apply the removal solution generously to the wallpaper using a spray bottle or garden sprayer.
- Work in Sections: Start with a manageable section, typically a 3×3 foot area.
- Soak Thoroughly: Ensure the wallpaper is thoroughly soaked, but not dripping.
- Wait: Allow the solution to penetrate for about 15-20 minutes. This will help dissolve the adhesive.
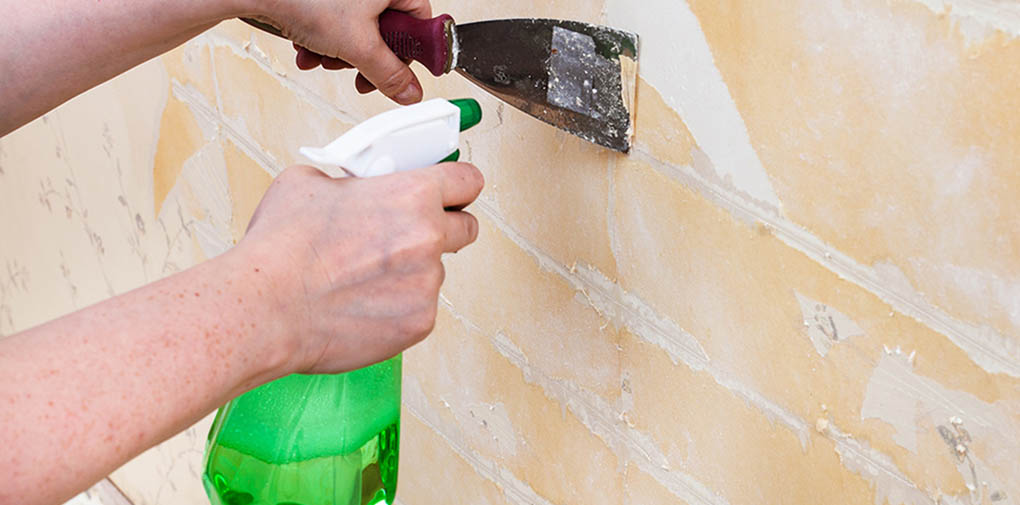
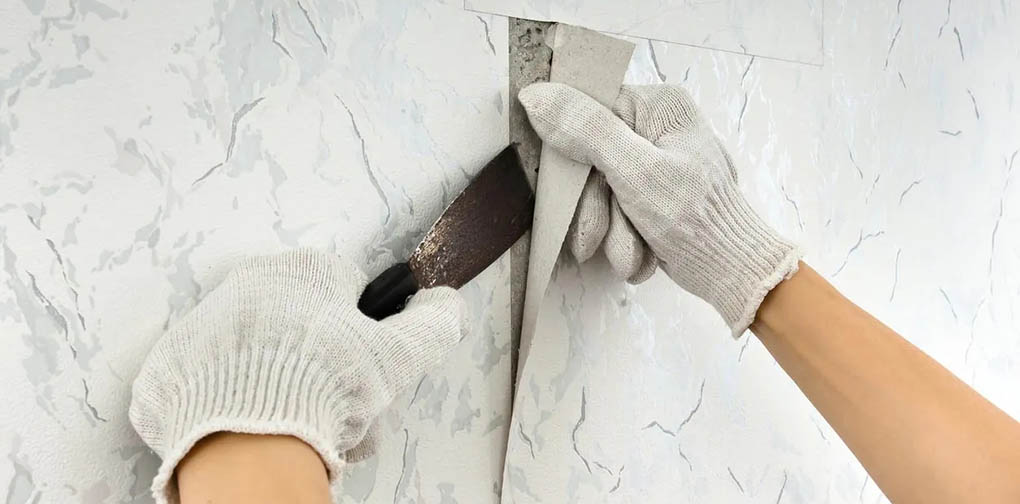
Step 6: Remove the Wallpaper
Once the wallpaper is soaked, it’s time to start peeling it off.
- Start at the Seams: Use your putty knife to lift the edge of the wallpaper at the seams.
- Peel Slowly: Peel the wallpaper slowly, keeping the angle low to prevent tearing.
- Use the Scraper: If the wallpaper resists, use your scraper to gently loosen it. Be careful not to gouge the wall.
- Repeat as Needed: Continue soaking and peeling until all the wallpaper is removed.
Step 7: Remove Remaining Adhesive
After the wallpaper is removed, there may still be adhesive residue on the walls.
- Apply Solution: Reapply the removal solution to any remaining adhesive.
- Scrub: Use a sponge or cloth to scrub the adhesive gently.
- Rinse: Rinse the walls with clean water to remove any solution residue.
- Dry: Allow the walls to dry completely before proceeding with any further treatments or painting.
Special Cases: Removing Different Types of Wallpaper
Vinyl Wallpaper
Vinyl wallpaper is often more challenging to remove because of its water-resistant properties.
- Score Heavily: Score the wallpaper thoroughly to allow the solution to penetrate.
- Use a Steamer: A wallpaper steamer can be particularly effective for vinyl wallpaper. Hold the steamer against the wall to soften the adhesive, then scrape off the wallpaper.
Fabric-Backed Wallpaper
Fabric-backed wallpaper is durable and often used in commercial spaces.
- Peel Top Layer: Try to peel off the top layer first, leaving the fabric backing.
- Soak and Scrape: Soak the fabric backing with your removal solution and scrape it off.
Multiple Layers of Wallpaper
Older homes often have multiple layers of wallpaper.
- Peel in Layers: Remove the top layer first, then score and soak the remaining layers.
- Be Patient: Removing multiple layers can be time-consuming, so take your time and work methodically.
Post-Removal Wall Care
Inspect for Damage
Once all the wallpaper and adhesive are removed, inspect the walls for any damage.
- Fill Holes and Cracks: Use patch compound to fill any holes or cracks.
- Sand Smooth: Lightly sand the walls to create a smooth surface for painting or new wallpaper.
Clean and Prime
Before applying new wallpaper or paint, ensure the walls are clean and properly primed.
- Clean: Wipe down the walls with a damp cloth to remove any dust.
- Prime: Apply a primer to create a uniform surface and improve adhesion for the new wallpaper or paint.
Troubleshooting Common Issues
Stubborn Wallpaper
If the wallpaper is particularly stubborn, consider these additional tips:
- Increase Soak Time: Allow the removal solution to soak in longer.
- Use a Steamer: Rent or purchase a wallpaper steamer for more difficult cases.
- Try Different Solutions: Experiment with different removal solutions to find the most effective one.
Wall Damage
Minor wall damage is sometimes unavoidable. Here’s how to address it:
- Patch: Use a patching compound to repair small holes and dents.
- Sand and Prime: Sand the patched areas smooth and apply a primer before painting.
Residue
If adhesive residue persists:
- Use a Stronger Solution: Consider a stronger commercial adhesive remover.
- Scrape Carefully: Use a putty knife or scraper to gently remove residue.
Removing old wallpaper without damaging your walls is a manageable task with the right tools, techniques, and a bit of patience. By following the steps outlined in this guide, you can ensure a smooth and successful wallpaper removal process, leaving your walls ready for a fresh new look.